How to Have Excel Continuously Sort Data
Sorting data automatically in excel is really useful when you are handling a wide range of data. Excel has no definite tool to auto-sort your data. In this article, we will discuss how to sort your data automatically when you insert a new value in your data range. Today, we will learn how to auto sort when data is entered in excel.
Download Practice Workbook
Download this practice sheet to practice while you are reading this article.
Three Different Methods to Auto Sort When Data Is Entered in Excel
In this section, we will demonstrate three easy and effective methods to auto-sort when data is entered in excel. To do this, we will apply the SORT Function, the VLOOKUP Function and VBA Macro Code. Let's see!
1. Use SORT Function to Auto Sort When Data Is Entered
The SORT function is used to rearrange your range of data in ascending or descending order. Today, we will learn three types of auto-sorting data.
1.1 Auto Sort Data in Ascending Order
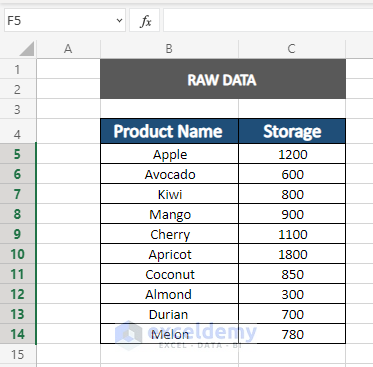
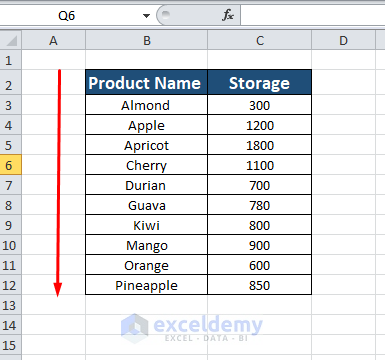
A data set is given like this one in the picture. We need to sort them in ascending order.
Step 1:
Create another table where you want to put your sorted data.

Step 2:
Apply the "SORT" function.
Here,
- "Array" is your data range (B5:C14).
- [sort_index] is the column you want to sort on (2).
- [sort_order] is where you can specify the order (1).
Press "Enter".

- We got out auto-sorted data in ascending order. Now if you change any value the data will auto-sort according to the value.

1.2 Auto Sort Data in Descending Order
Step 1:
For descending order, go to the function tab and change the order from 1 to -1.

- And, you will get your auto-sorted data in descending order.

Step 2:
Now we want to check whether it is auto sorted or not. For that, we change the value to "Kiwi" from 800 to 3000. Press "Enter".

- Look, our data range is automatically sorted.

1.3 Auto Sort Multiple Columns When Data is Entered in Excel
Now we want to auto-sort multiple columns. Let's follow these steps.
Step1:
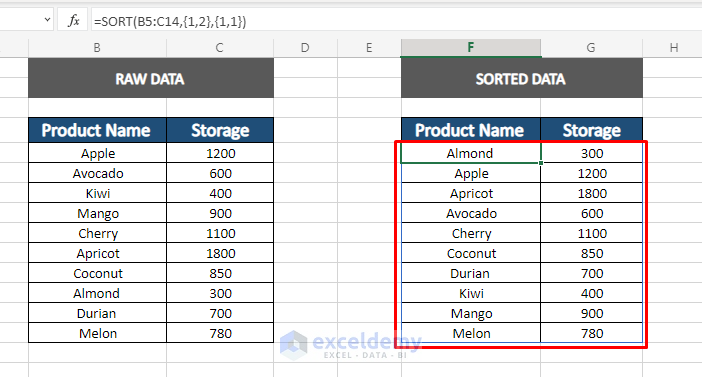
Apply the "SORT" function to auto sort multiple columns.
Here,
- "Sort_index" is {1,2}, where 1 is the first column index number and 2 is the second column index number that we want to sort.
- "Sort_order" is the order {1,1}, where the 1st and 2nd column is to be sorted in ascending order.

Step 2:
Now Press "Enter". We got our sorted data.
Step 3:
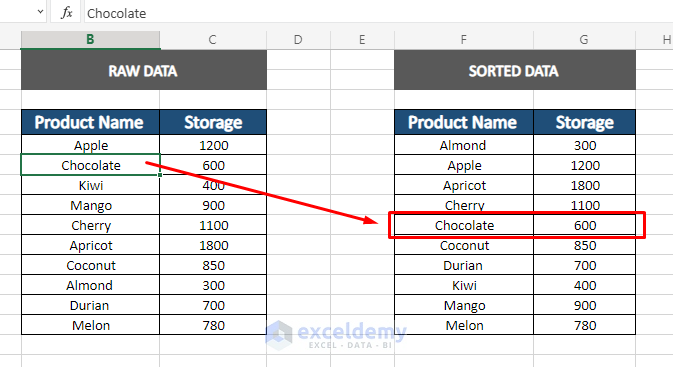
To check, whether it can auto sort or not, change a name in the data range.
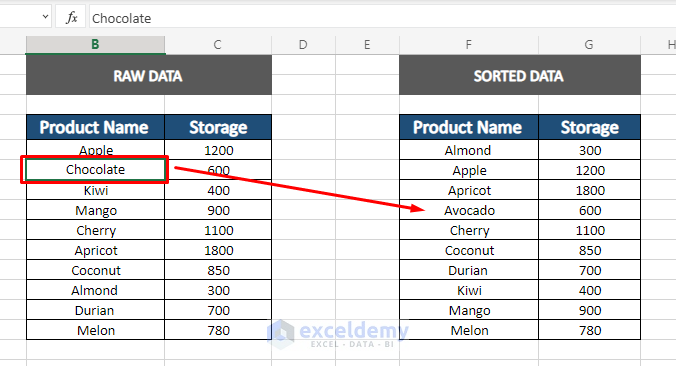
- Now, we can see that the data is auto sorted.
Read More: How to Sort Alphanumeric Data in Excel (With Easy Steps)
Similar Readings
- How to Sort by Color in Excel (4 Criteria)
- Random Sort in Excel (Formulas + VBA)
- How to Sort by Last Name in Excel (4 Methods)
- How to Create Custom Sort List in Excel
2. Apply VLOOKUP Function to Auto Sort When Data is Entered in Excel
We can use the "VLOOKUP" function for auto sorting our data. Here's how,
Step 1:
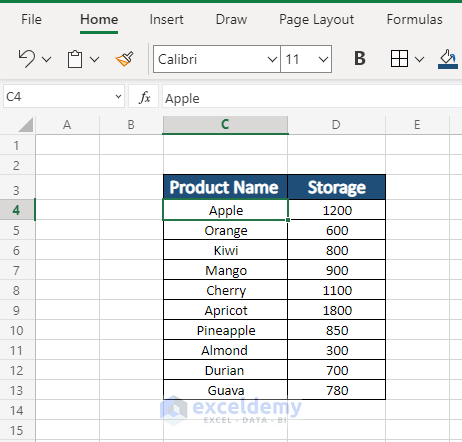
Take a set of data like this one in the picture.
Step 2:
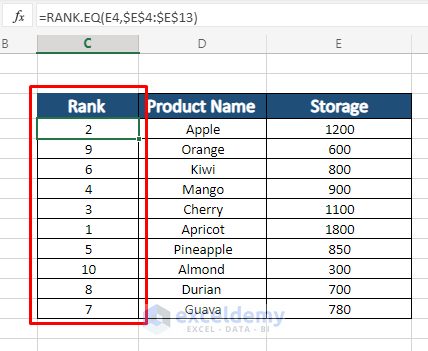
- Create a new column named "Rank" and rank the value by using the RANK function.
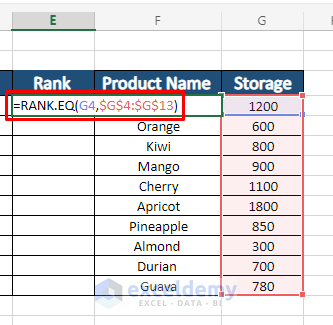
- The data is ranked by their values.
Step 3:
Now, Copy the titles of the data and paste them beside. In the "Rank" column, insert the sequence numbers like the screenshot.

Step 4:
Apply the "VLOOKUP" function.
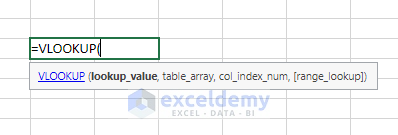
Here,
- "Lookup_Value" is the number you want to find in the data (G4).
- "Table_Array" is your data range(C$4:E$13).
- "Col_index_number" is the column number where you want to get your value (2).
- [range_lookup] is to find the exact number(FALSE).
=VLOOKUP(G4,C$4:E$13,2,FALSE)
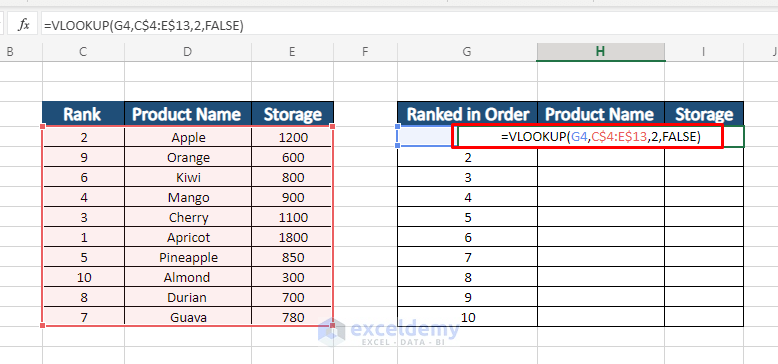
Press "Enter". Now we got our sorted value according to the "lookup_value".
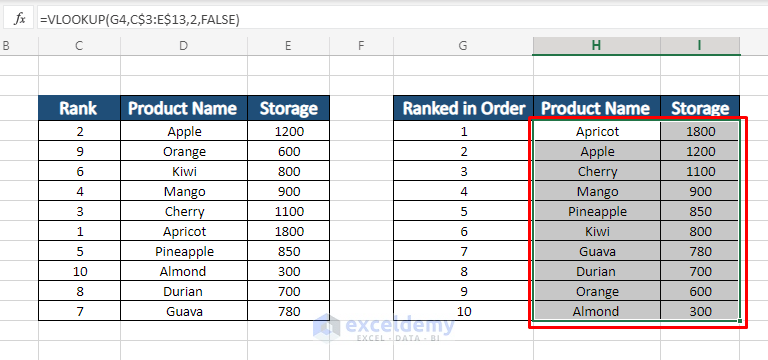
Step 5:
To check the auto sorting, change any value in the "Table array".

And press "Enter". Our data table is auto-sorted.

Read More: How to Sort Data by Value in Excel (5 Easy Methods)
3. Run a VBA Code to Auto Sort When Data Is entered
In this method, we will use the VBA macro to auto-sort our data.
Step 1:
Open the VBA window
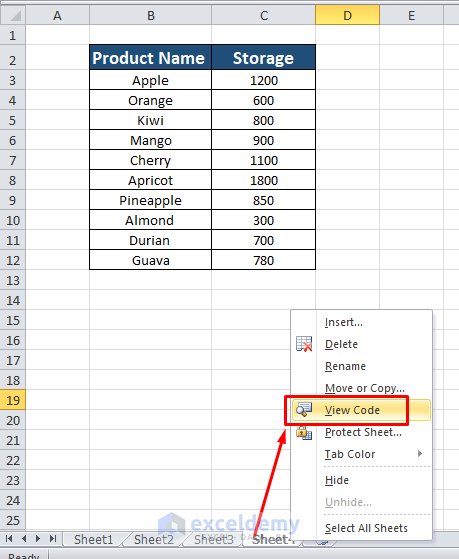
Step 2:
Apply the VBA code. You need to make changes in the "Red-marked" area according to your column value.
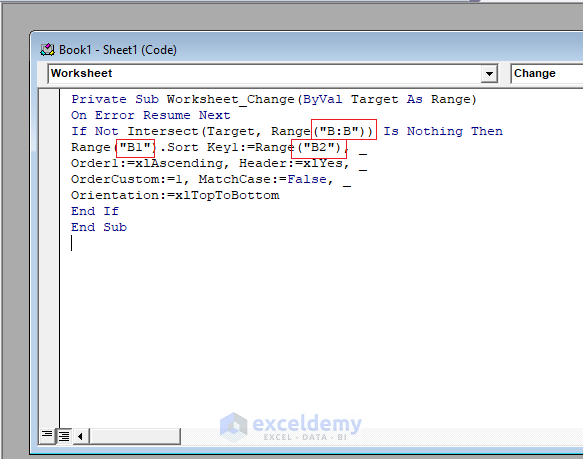
You can copy this code from here,
Private Sub Worksheet_Change(ByVal Target As Range) On Error Resume Next If Not Intersect(Target, Range("B:B")) Is Nothing Then Range("B1").Sort Key1:=Range("B2"), _ Order1:=xlAscending, Header:=xlYes, _ OrderCustom:=1, MatchCase:=False, _ Orientation:=xlTopToBottom End If End Sub Where,
- B:B refers that it will auto-sort Column B.
- B1 is the 1st cell in Column B.
- B2 is the 2nd cell in Column B.
Step 3:
Finally, we have the desired data table. If you change any value from the table the data will be auto-sorted.
Read More: Excel VBA to Populate Array with Cell Values (4 Suitable Examples)
Quick Notes
✅ The "SORT" function is only available for "Excel 365". You won't be able to use this function if you do not have this version of excel.
✅ While using the "SORT" function to auto sort multiple columns, the first column will auto sort first. The second column will sort after the previous column is sorted.
✅ While applying the "VLOOKUP" function, remember to "Block" the "Table_Array".
✅ When you use the VBA code, you need to insert your own worksheet value in the code.
Conclusion
Today we have discussed three methods to auto-sort when data is entered in excel. Hope this article is useful to you. If you have any queries or confusion, you are welcome to comment.
Further Readings
- How to Sort Duplicates in Excel (Columns and Rows)
- Sorting Columns in Excel While Keeping Rows Together
- How to Sort Rows by Column in Excel (4 Methods)
- Use Excel Shortcut to Sort Data (7 Easy Ways)
- How to Sort Rows in Excel (2 Simple Methods)
- Sort Column by Value in Excel (5 Methods)
- How to Sort Multiple Columns in Excel Independently of Each Other
Source: https://www.exceldemy.com/excel-auto-sort-when-data-is-entered/
0 Response to "How to Have Excel Continuously Sort Data"
Post a Comment